405 Tidwell Dr, Alpharetta, GA, 30004
Mon-Fri 07:30 AM - 05:30 PM

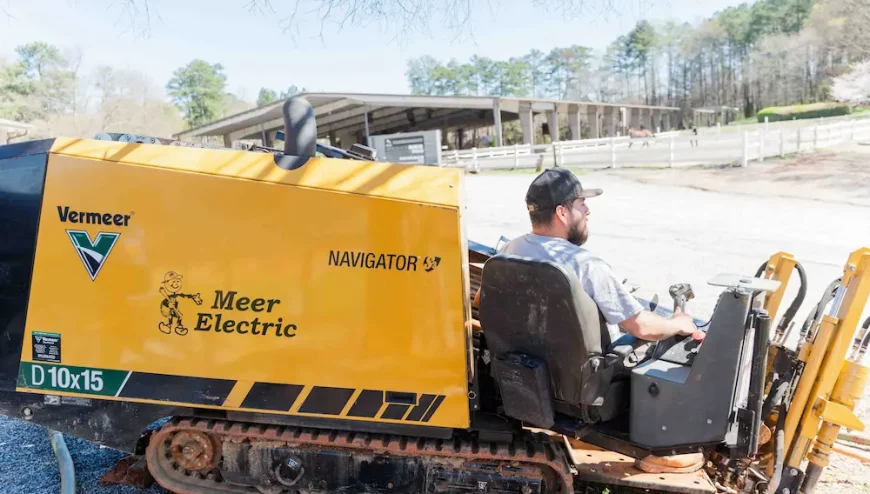
Electrical underground boring, also known as horizontal directional drilling (HDD), has revolutionized the installation of underground electrical conduits and utilities. This trenchless method offers a non-intrusive way to lay cables beneath roads, rivers, and structures without the need for extensive excavation or the disruption of surface activities. It is particularly favored in urbanized areas where surface trenching can be costly, time-consuming, and cause significant disturbances to traffic and residents.
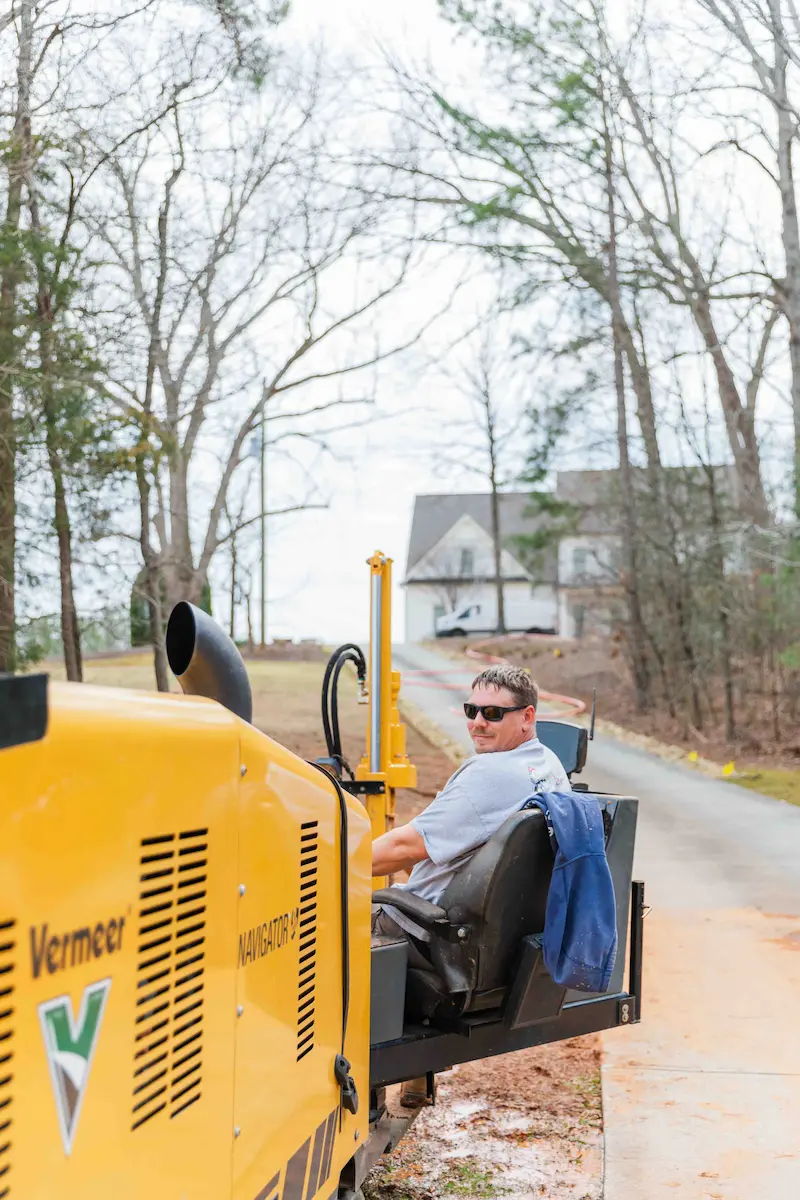
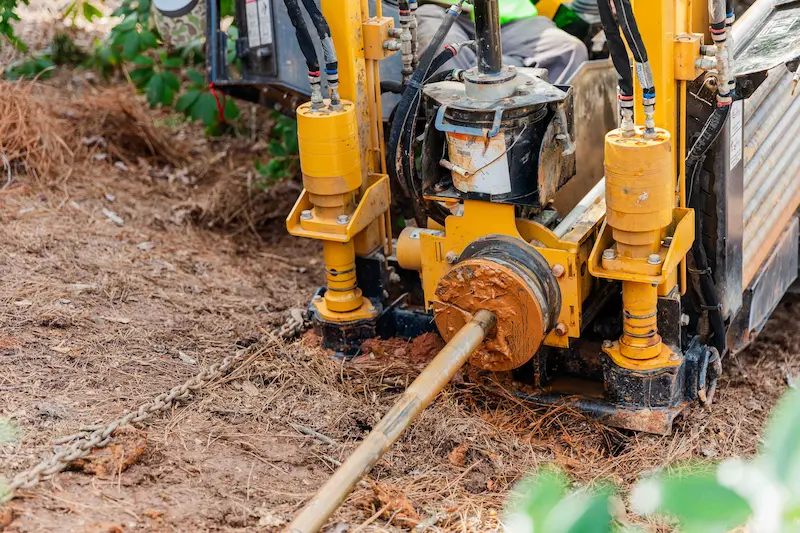
The process starts by drilling a pilot hole along a designated path using a specialized drilling rig. Once the pilot hole is established, it is enlarged to accommodate the utility. The electrical conduits are then pulled back through this enlarged hole, establishing an underground path for electricity. This method ensures minimal ground disturbance and is both time-efficient and cost-effective.
Moreover, electrical underground boring reduces the environmental impact as it minimizes land disruption and potential damage to surrounding habitats. It offers increased safety since the risk of utility strikes is significantly reduced. HDD has indeed presented a win-win solution for modern urban planning, emphasizing sustainability and efficiency in utility installation.
Free Estimate for Boring Service
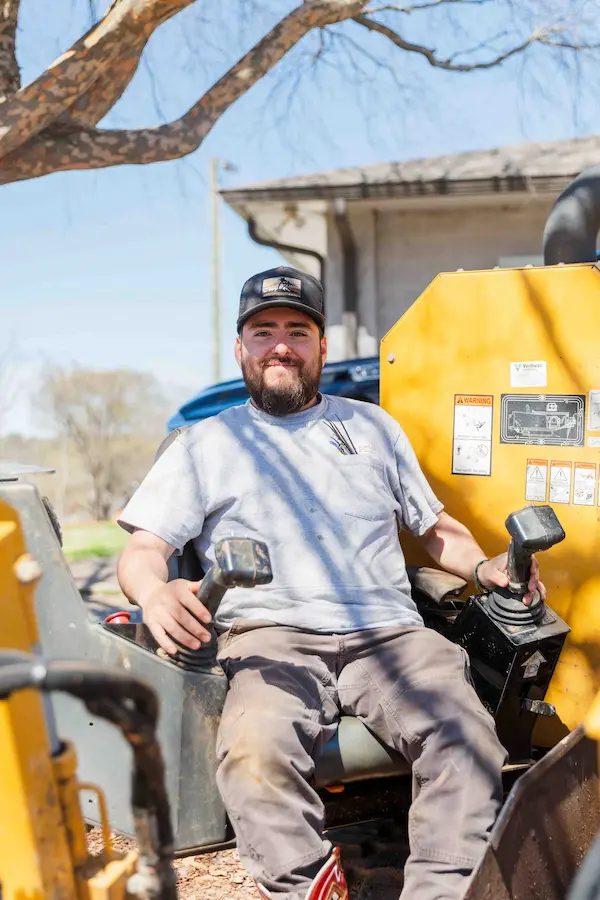
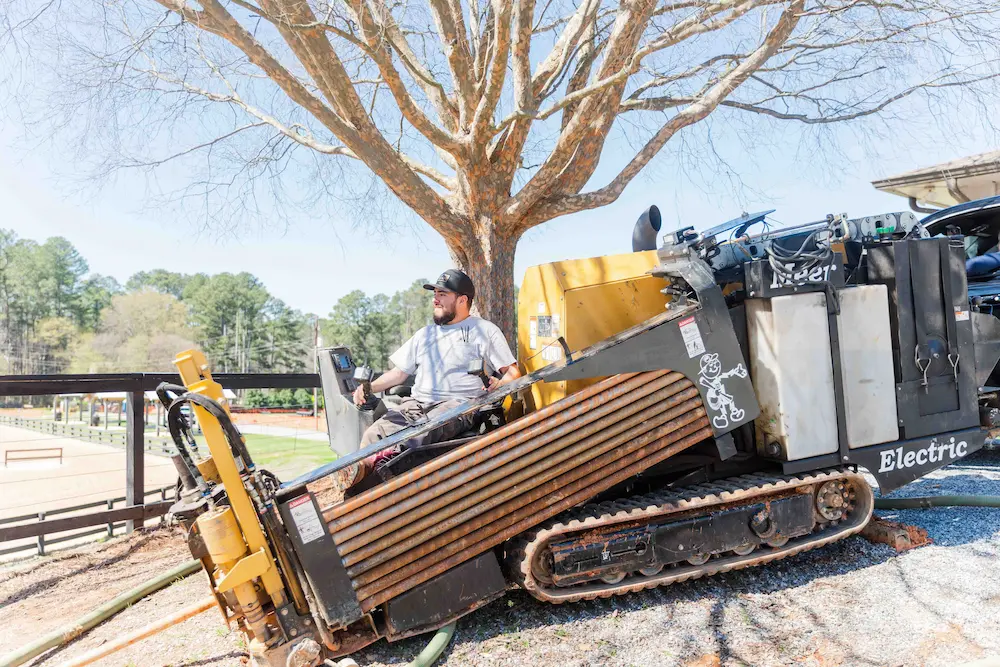
Meer Electric specializes in Directional Underground Boring for the Atlanta Area
This trench-less method offers a non-instrusive way to lay cables beneath roads and structures without the need for excavation or disruption of the surface. Meer Electric offers this service to residential and commercial customers.
Boring directional drilling, also known as horizontal directional drilling (HDD), offers several advantages over traditional excavation methods. These advantages make it a preferred choice for installing underground infrastructure such as pipelines, cables, and conduits.
Key benefits include:
1. Minimal Surface Disruption
HDD requires only small entry and exit points, avoiding the need for large trenches. Reduces disruptions to traffic, landscaping, and existing infrastructure like roads, railways, or buildings.
2. Environmental Friendliness
Preserves ecosystems, especially in sensitive areas like wetlands, rivers, or forests. Reduces soil erosion and disturbance to natural habitats compared to open-cut methods.
3. Cost-Effectiveness
Avoids extensive restoration costs for roads, pavements, or landscaping.
Reduces labor and time requirements compared to traditional digging methods, especially in urban or congested areas.
4. Ability to Navigate Obstacles
Can install pipelines or cables under rivers, roads, buildings, or other obstacles without disrupting them. Allows for precise navigation along curved or complex paths.
5. Greater Depth Flexibility
Enables installations at greater depths, avoiding interference with existing underground utilities or foundations. Offers better protection against future surface disruptions or environmental factors.
6. Enhanced Safety
Minimizes risks to workers and the public by reducing open trenches or exposed work zones. Lowers the likelihood of accidental utility damage.
7. Year-Round Usability
Can often be conducted in various weather conditions, including during cold seasons, making it a reliable option throughout the year.
8. Longer Installation Distances
HDD can cover significant distances in a single operation, reducing the need for multiple setups and interruptions.
Overall, boring directional drilling provides a modern, efficient, and less invasive solution for underground construction projects, making it an excellent choice in many scenarios.
5 Steps to Installing Underground Electrical Boring:
1. Planning and Preparation:
* Site Survey: Inspect the area to determine the best path for the bore. Locate existing utilities using utility locators or calling the local utility notification center.
* Design the Bore Plan: Depending on the complexity of the area, you might need software to plot the best path. This plan will specify entry and exit points, depth of the bore, and any curves or angles.
* Obtain Necessary Permits: Before starting the work, make sure you have all required permits from local authorities.
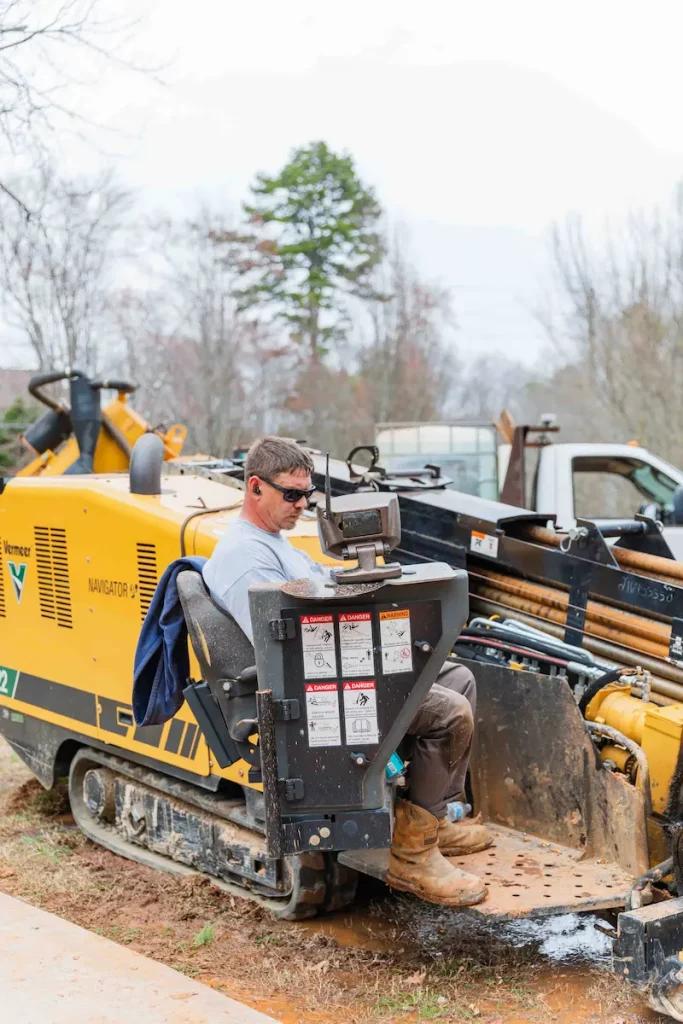
2. Setup the Drilling Equipment:
* Choose the appropriate drilling rig based on the diameter of the conduit and the length of the bore.
* Prepare the drilling fluid (often a mix of water and bentonite) which will be used to lubricate and stabilize the borehole.
* Position the drill rig at the designated starting point.
3. Pilot Bore:
* Begin drilling a pilot bore following the planned path. The drilling head will be equipped with a location device so its position can be tracked from the surface.
* Adjust the direction and depth as necessary based on real-time tracking data.
4. Reaming:
* After the pilot bore is complete, the hole may need to be enlarged to accommodate the conduit. This is done by pulling a larger cutting tool (reamer) back through the pilot hole, often in multiple passes.
* Ensure that the hole is of the appropriate size and is stable. Continue to use drilling fluid during this process to maintain the borehole.
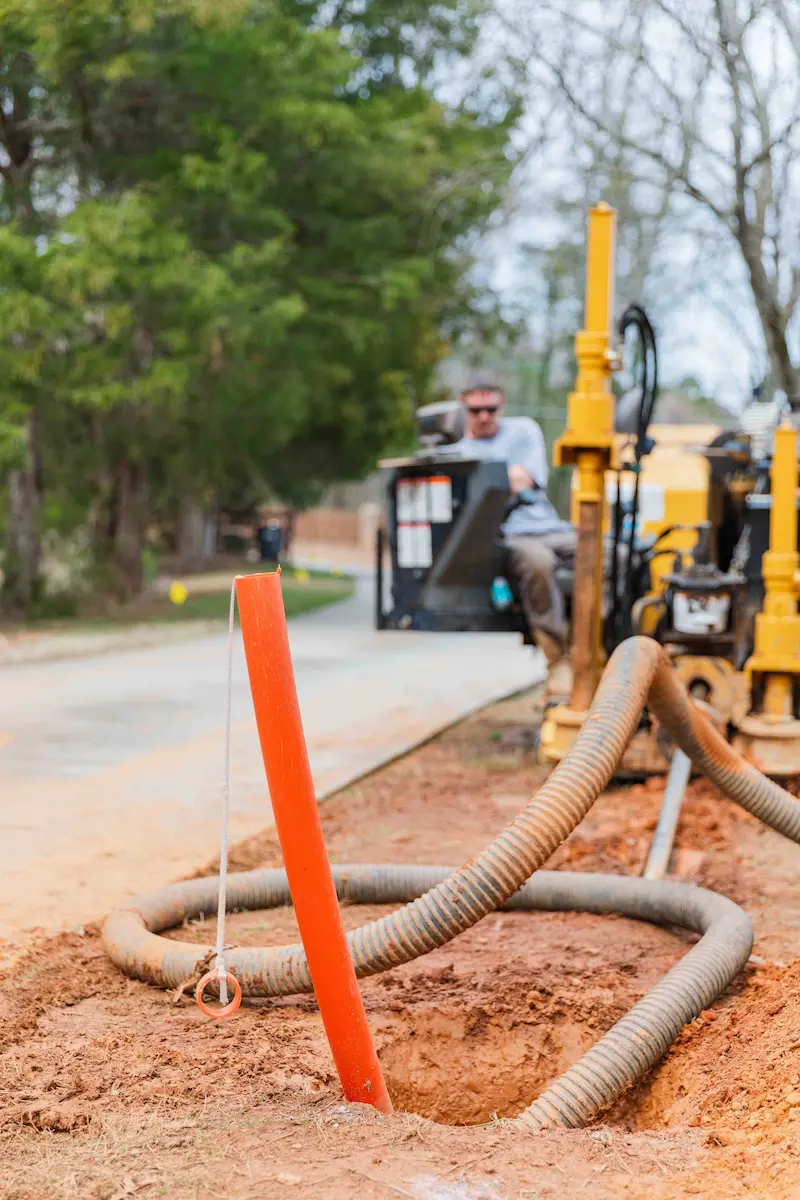
5. Pullback:
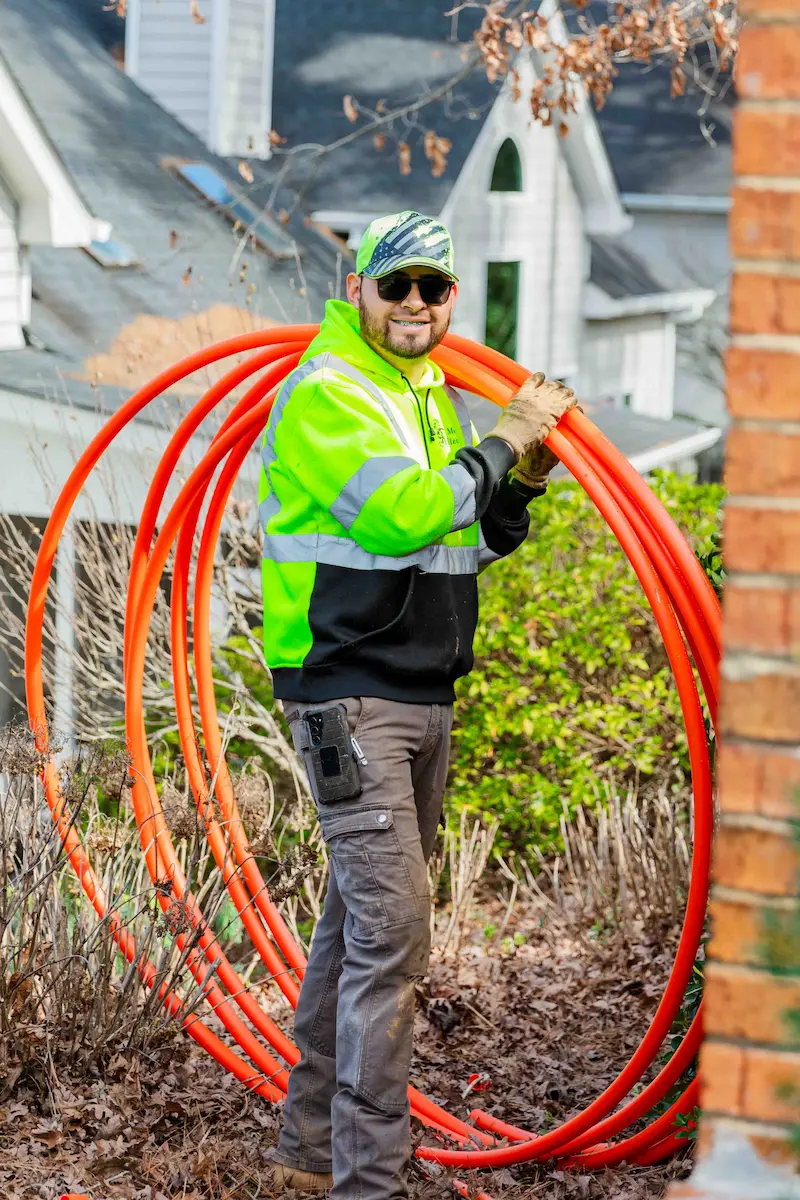
* Attach the electrical conduit to the reaming tool.
* Slowly pull the conduit back through the borehole while ensuring it doesn’t get tangled or damaged.
* Once the conduit is in place, make sure to test its integrity and ensure it’s properly sealed at both ends.
Let Meer Electric handle your Underground Boring project in the Atlanta area. We have extensive professional experience in horizontal directional drilling.
- 405 Tidwell Dr Alpharetta, Georgia 30004
- Mon-Fri: 7:30am-5:30pm
- (770) 993-8028
Excellent service, very reliable
Meer is quick to answer calls and schedule appointments. I have even had to ask then to revisit an installation on a ceiling fan to rewire the remote control to the wall switch and they were quick to respond. Their techs are very friendly and neat. They dispose of boxes and old fixtures.
I have been looking for a good reliable electrician for a while. This is my service.
Quick response
I have been very pleased with all the work done for me by all Meer employees involved. Quick response with excellent technicians.
Friendly and knowledgeable
These were two of the nicest guys I’ve ever had work in my home. Although my repairs were simple this time, over the years I’ve had a hard time finding electricians that could figure out difficult wiring issues. Meer has always been able to get a smart electrician who can work through difficult situations and solve the problems. I could not ask for anything more. Great guys – neat, friendly and knowledgeable.
Job was done quicker than expected
Richard and Frank were great. Professional but friendly and good sense of humor. Job was done quicker than expected and it was done “Right”.
Everything was excellent
This was my first time using Meer – from the office phone call to the service, everything was excellent. I will recommend you to all of my friends and co-workers!
Very professional and courteous!
Very professional and courteous! I will hire Meer again for other work! Good job! Price is very good too!!
Never been more impressed with a company
Richard and Robert did an excellent job! I could not be at the appointment due to a work commitment, so my mother met with the electricians for me. They were very patient with her while she communicated issues back and forth to me so that I could make the final decisions. They were also very helpful with the placement of lights for not only function, but aesthetics as well! My mother said that she has never been more impressed with a company and that she now wants to be a customer of Meer Electric as well!
Very reliable
Great guys who were very knowledgeable and quite efficient. Very reliable. You’re everything all rolled up into one!
Did outstanding work
Both crews for this project did outstanding work. Our residents and staff thank Peter, Richard D., and both crews for completing this project in a timely and professional manner. Account manager Richard Deininger does an excellent job with us and responds in a timely manner.